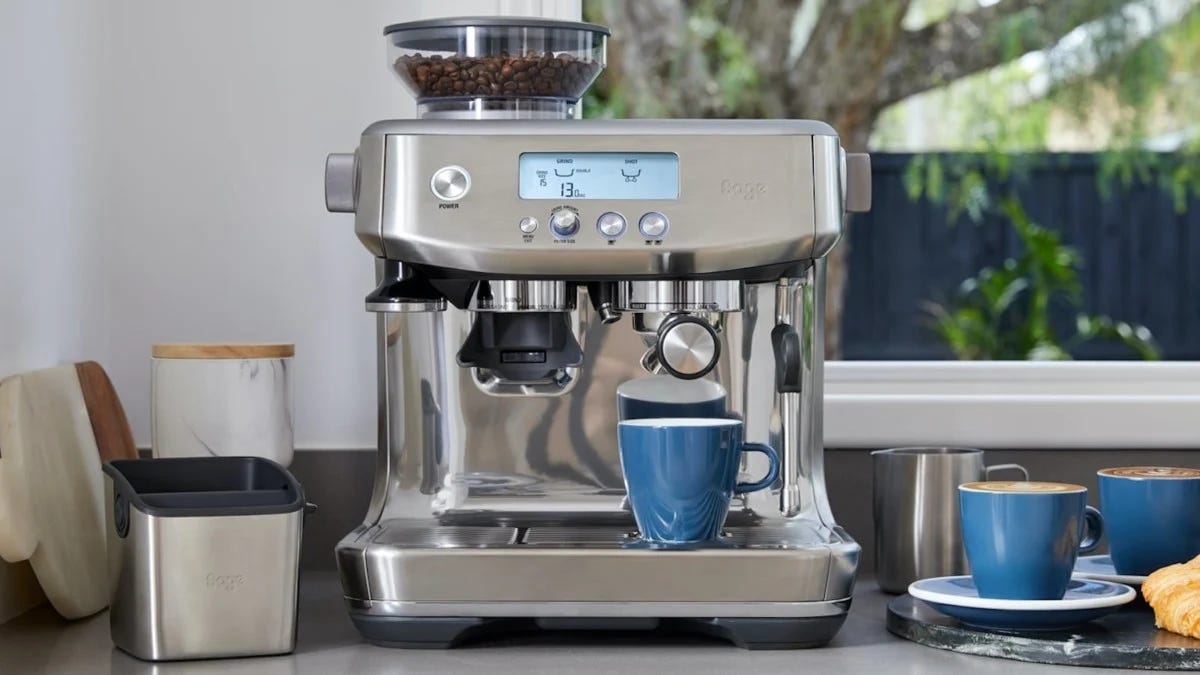
How to Descale Your Breville Barista Pro
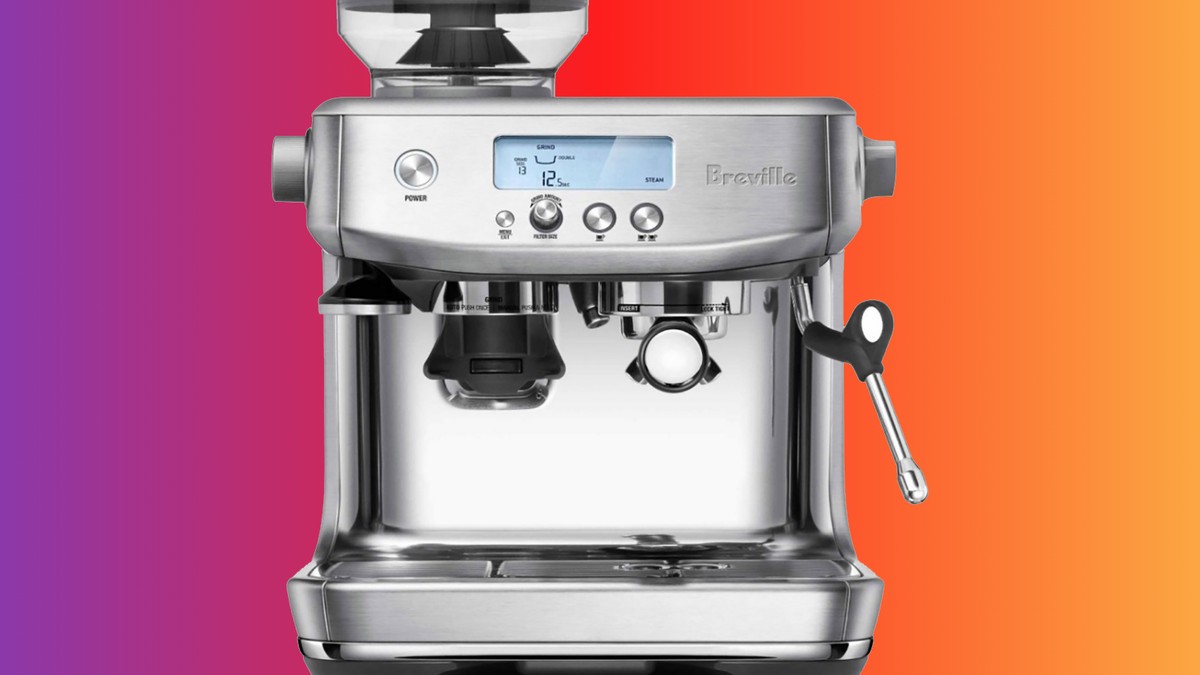
Undoubtedly this Breville Barista Pro is an excellent machine. But for some reason, you’re noticing that coffee tastes different than it used to, or maybe there’s just a bit more sediment in your cup. Perhaps the machine is telling you something: it needs to be descaled!
Descaling your device is essential because, if left untreated, mineral deposits can build up and cause problems with brewing temperature stability and extraction pressure, which will affect the taste of your coffee as well as its quality. In this blog post, we’ll show you how easy it is to descale your Breville barista pro vs touch using a vinegar solution and why this practice should become part of your routine monthly maintenance.
There are so various elements available to help you wash your espresso maker without any hassle. Still, we recommend using the Breville Descaling Solution, which will remove any buildup of calcium, limescale, and soap scum that may cause problems with extraction quality. Follow these steps to make sure you’re using your machine for as long as possible:
How to descale the Breville Barista Pro
Unplug your machine from the wall outlet before beginning this process; –
Fill an 8 cup measuring cup with filtered water (filtered tap water works too);
Place the measuring cup on top of the drip tray and turn on your Breville Barista Pro;
- Wait until all of the liquid has drained out into your desired container;
- Turn off the power switch to the unit and unplug it from the wall outlet;
- Fill the water container, including descaling water.
- Replace the water reservoir cap and plug your machine back in. Turn on the power switch. If it does not turn on automatically, press the “On” button;
- Wait for it to complete its cycle & turn it off by itself until just before it ejects any remaining water into the drip tray;
- Unplug your machine and allow it to cool down until you can handle it with your bare hands;
- Carefully remove the water reservoir cap;
- Pour out any remaining descaling solution back into your measuring cup;
- Using your measuring cup, fill the water reservoir with room temperature filtered water;
- Once the water reservoir is filled, turn your machine on and let it run until your measuring cup is empty (should be around 8 cups);
- You will understand if you’re prepared when the “Add Water” light switches off;
- Switch off the control button to the system and unplug the device from the wall socket;
- Remove this drip plate also wash with water;
- Allow the drip tray and grinder area to dry before reassembling your Barista Pro.
Remember: Do not use undiluted White Vinegar or any other vinegar solution as it will damage the internal components of your machine. And make sure you clean out any excess residue from storing the descaling solution for next time.
You’re done! It’s that easy to descale your Breville Barista Pro vs. touch. And for more info on how often you should be descaling your espresso machine, check out our blog post: ” How Often Should I Clean My Espresso Machine? (And What is the Best Way) “
How do I put my Breville in descale mode?
The descale indicator light on your espresso machine will turn on when it is time to descale.
If you have a Breville Barista Pro vs. touch, then the “Add Water” light will flash three times and go off. If you have a Breville Barista Express, the power switch turns from green to red, as well as the “Add Water” light.
Once your machine is in descale mode, it will not brew until the process is complete.
Your espresso maker has a built-in water filter which should be replaced every three months with regular use to ensure optimal performance and taste of your beverage. You can attach the water filter by twisting it clockwise.
How do you reset the descale light on a Breville Barista Pro?
Although your coffee machine tells you when it’s time to clean the device, you can manually reset the light at any given time by turning off the power switch and unplugging it from the power outlet.
Once the unit cools down a bit, make sure the drip tray is empty and dry. Open your water reservoir lid and press the “add water” button. Once your reservoir is complete, close the lid and press the “on” button to complete the process.
This will reset the machine for another three months of use or until the next time it tells you it’s time to clean again.
Can I descale my Breville Barista Pro with white vinegar?
Do not use undiluted White Vinegar or any other vinegar solution as it will damage the internal components of your machine. And make sure you clean out any excess residue from storing the descaling solution for next time.
To descale your Breville with vinegar:
- Fill an 8 cup measuring cup up to capacity with white vinegar and pour it into the water reservoir.
- Turn on the power switch and let the mixture run through the machine until the measuring cup is empty.
- Close the water reservoir lid and press the “Add Water” button until your device runs entirely out of vinegar.
- Please turn off the power switch, unplug from the wall outlet, and let it cool down for a bit before handling it.
- Carefully remove the water reservoir cap and pour any remaining vinegar back into the measuring cup.
Once you have poured out all the vinegar, carefully remove the water reservoir and dump the remaining solution into the sink. Fill the reservoir up with fresh filtered water and replace it before turning the machine on to run until the measuring cup is empty. Once you have a clear measuring cup, your coffee maker is now ready for use!
Note: Never leave undiluted white vinegar in your water reservoir for extended periods. If you leave the vinegar in your pool, it may lead to leaking onto the countertop.
Final Verdict
What you will need to descale your Breville Barista Pro is a pitcher of water, vinegar (1/4 cup), and baking soda. Combine the three ingredients in the pitcher, then submerge your coffee maker into it until bubbles stop coming out.
Permit hold for 10 minutes before separating the mix and cleaning, including clean water. You should see that there is no vast system development on this exterior! Be sure to dry off all parts thoroughly after cleaning, so they don’t rust or corrode over time.