

When you want to have vinyl flooring, then you have got a few options to select from, which are either vinyl planks or vinyl tiles. You can also prefer either luxury vinyl planks or vinyl sheets. Every option will have unique characteristics and also different installation methods.
Before you go for vinyl flooring installation, whether your subfloor is concrete or hardwood, one crucial step will be to ensure that your subfloor is properly leveled and also cleaned. However, in case of concrete subfloor, the laying of vinyl flooring needs a little more preparation.
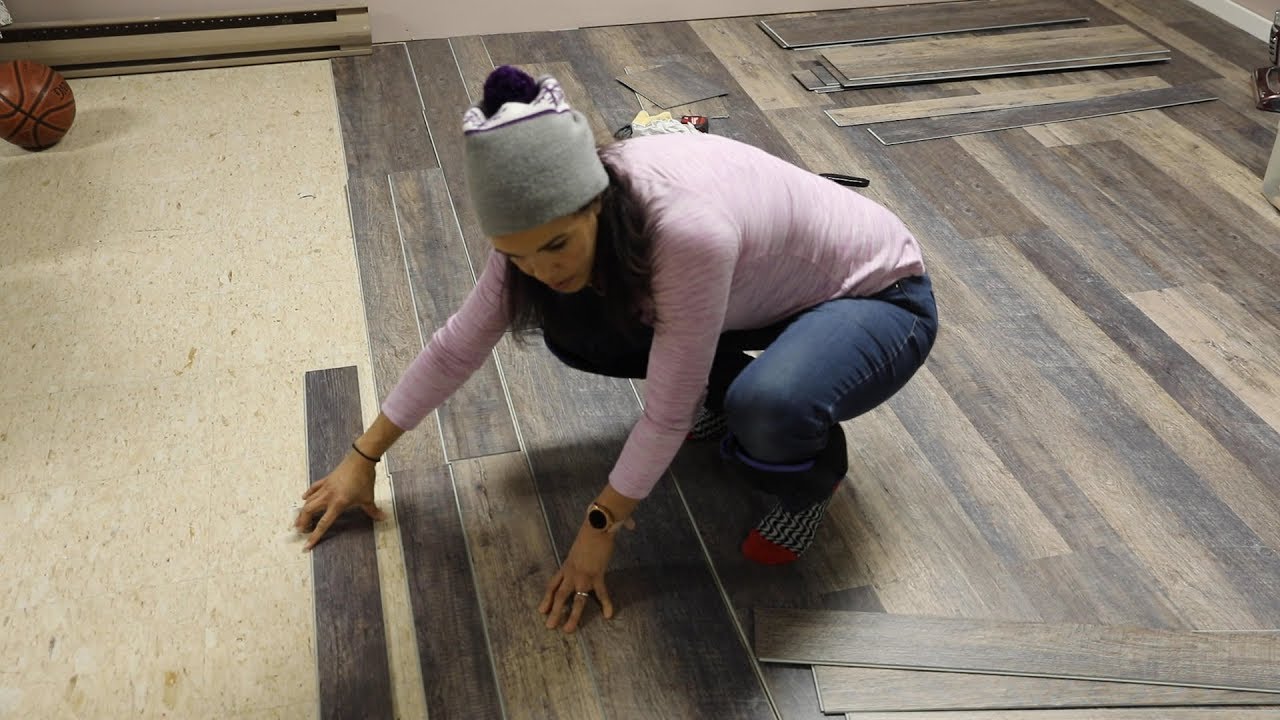
Laying of vinyl plank flooring
You can bring new life to the floors by upgrading the floorboards by using these easy-to-install, vinyl planks. Even on your existing floors too, you can lay them.
The following tools will be needed:
- 6 mm spacers
- Pencil
- Ruler
- Tape measure
- Safety gloves
- Tape measure
- Rubber mallet
- Kneepads
- Utility knife
1. Measure up
To start with, first, measure the entire space where you want to put vinyl flooring. One specialty of this particular kind of flooring is that it can always be installed above any other type of flooring and it is also quite safe to use above any underfloor heating.
2. Start laying the vinyl planks
You can lay your planks from left to right by using the 6 mm spacers for creating an expansion gap and to ensure your planks will be 6 mm from either side of the wall. As there already has a underlay below it, there is no need to install this too.
3. Join your planks
Before you start clicking the planks together, ensure that the end join is correctly positioned. Once it is aligned and positioned then use a rubber mallet and secure them. After clicking it in ensure that you hit the join, and also it is smooth to touch.
4. Customize
Usually, these planks will be available in standard lengths, but you can also stagger them to create some interest and also for adding extra stability to your floor. For cutting the boards you can use a utility knife and wear protective gloves while doing this bit.
5. Stagger your pieces
If you want a staggered effect, then alternate the long and short pieces and keep doing it till your flooring is completely done. After every row, you can push back to ensure it is all tight having no gaps.
6. Remove your spacers
After you have laid all the flooring then you can remove your spacers. However, do not take them out unless you are fully done and keep adding more while proceeding further. After your floor is completely installed and your spacers have been removed you are ready for installing the skirting of your choice.
You have your vinyl floor
FlooringDomain can offer you all the support to obtain your vinyl supplies and by following the above steps, you will get a beautiful vinyl flooring at your premises. In addition to that, you will get not only a new flooring that is totally waterproof, but also it will come with a warranty of 25-years.
